Electronics on the bus – campers:
I don't plan a lot of electronics, but there will be some useful things, worth writing about.
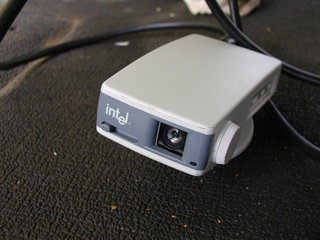 A few months ago I found some of these videoconferencing cameras in a dumpster near work. I plan to put two in small windows, where was the word "School Bus" on the back. One will be directed straight at our back, and the other is pointing down. I'll have to build a relay, to switch video signals between two cameras. I could also put on in the engine compartment! A few months ago I found some of these videoconferencing cameras in a dumpster near work. I plan to put two in small windows, where was the word "School Bus" on the back. One will be directed straight at our back, and the other is pointing down. I'll have to build a relay, to switch video signals between two cameras. I could also put on in the engine compartment! |
||
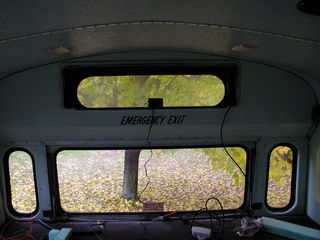 Auto, where the camera will be located. Auto, where the camera will be located. |
||
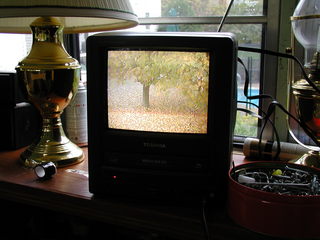 Here is a picture, i used regular CATV cable (75 ohms RG-59), and the picture quality is excellent. The TV has double voltage and I will make a shelf for it in the front. Here is a picture, i used regular CATV cable (75 ohms RG-59), and the picture quality is excellent. The TV has double voltage and I will make a shelf for it in the front. |
Convert your ATX PC power supply to a power source 12 V:
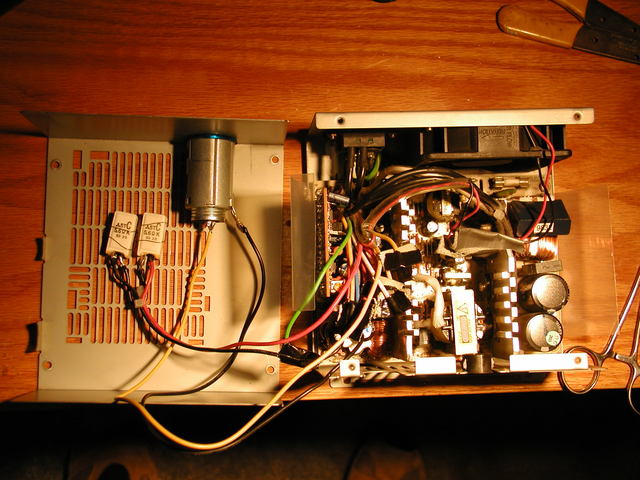
I have several 12 volt devices, in particular, a computer with a 12 volt power supply, which i want to use with tension 110 volts. Since all PC power supplies will provide a useful amount of electricity at 12 volts (and I have a dozen in a trash box), I converted one to deliver 12 volts to the cigarette lighter socket.
Auto, what you have to do:
- Find a place to mount the cigarette lighter socket and resistor 10 ohm 10 what (I used (2) resistors 5 ohm connected in series)
- Cut any extra wires close to the circuit board, seal the ends of these, which you cannot cut. Leave one red, one yellow, three black and a green one. CAUTION: If you have a brown wire, make sure, that it is connected to one of the orange wires, it is a sensor 3,3 V, and the power supply will not work, if not connected.
- Connect the green wire to the black wire – this is "power on" – you can alternatively put a switch here.
- Connect a resistor between red (+ 5v) and the black wire. The power supply requires a load on the rail +5 V for proper operation. This resistor heats up, so mount it in the air stream.
- Plug the yellow and black wires into the cigarette lighter socket.
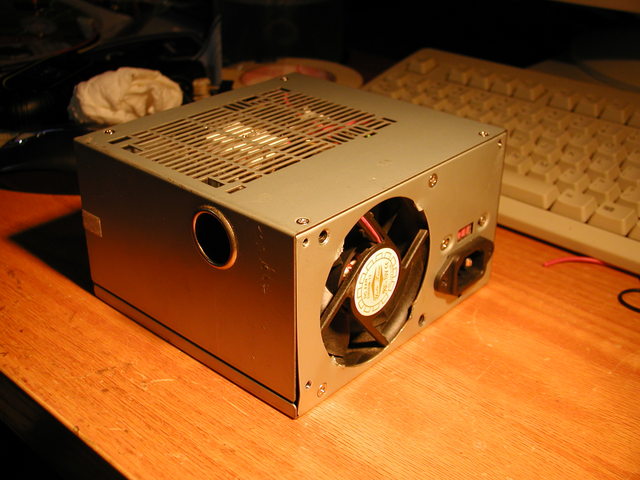
That's all! Here is the complete unit.
